Building a Home Lab Dashboard with Homer
If you’ve been running a home lab for a while, you’ve probably collected a fair number of services — things like Home Assistant, Pi-hole, Proxmox, Uptime Kuma, Grafana, media servers, and more. The problem is, remembering all those URLs and ports gets messy fast.
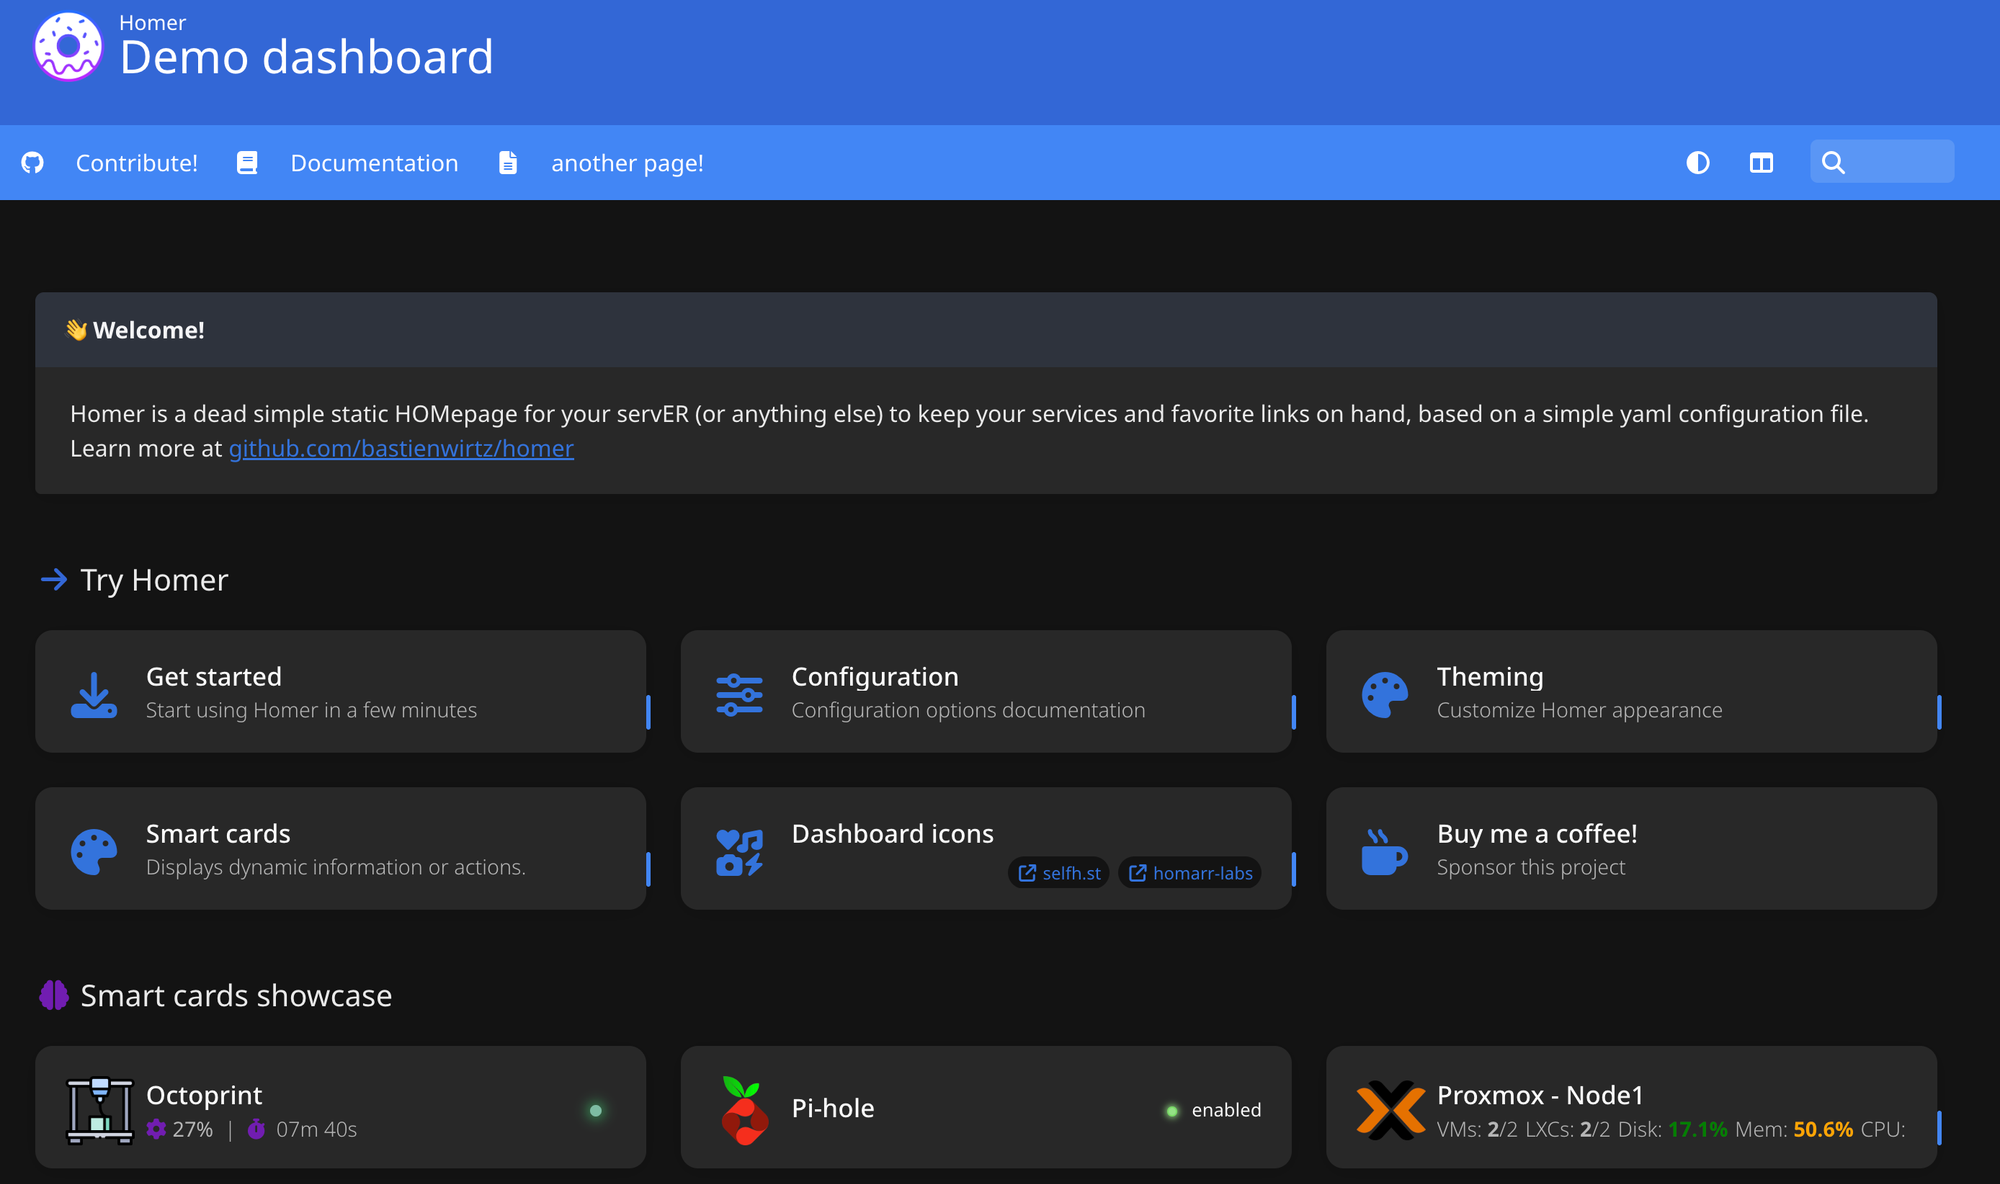
That’s where Homer comes in: a simple, customizable static dashboard you can host anywhere to keep your home lab neat and organized.
What is Homer?
Homer is a lightweight homepage for your self-hosted services. It’s just a single-page web app written in Vue.js that you can run with Docker, Nginx, or even a static file host.
Key features:
- Config-driven: Simple YAML config file for customisation.
- Beautiful UI: Clean, tile-based interface with icons and colours.
- Group support: Organise services into categories (e.g., Media, Monitoring, Infrastructure).
- Custom links and widgets: Add search bars, markdown notes, or quick links.
- Portable: No database — just config and assets.
It’s like having your own start page for everything in your lab.
Why Use Homer in a Home Lab?
- Central access point for all your services.
- Easy to remember one URL (like
http://homer.local) instead of 20 different ports. - Customizable look and feel with icons and branding.
- Lightweight — runs anywhere without heavy dependencies.
Installing Homer
Using Docker
The easiest way to get Homer running is with Docker:
docker run -d \
  -p 8080:8080 \
  -v /path/to/config:/www/assets \
b4bz/homer:latest- Mount a volume for your config at
/www/assets. - Access Homer at
http://your-server:8080.
Using Proxmox LXC
Homer is even easier to setup in Proxmox using a LXC Container, there is a community script available and its instructions can be found here:
https://community-scripts.github.io/ProxmoxVE/scripts?id=homer
Always good to review scripts before blindly running them on your hardware but its as simple as running the following script and following the steps in the console
bash -c "$(curl -fsSL https://raw.githubusercontent.com/community-scripts/ProxmoxVE/main/ct/homer.sh)"Configuring Homer
Homer is configured via a single YAML file: config.yml.
Here’s an example:
title: "Home Lab Dashboard"
subtitle: "All my services in one place"
logo: "assets/logo.png"

links:
  - name: "GitHub"
    url: "https://github.com"

services:
  - name: "Media"
    icon: "fas fa-film"
    items:
      - name: "Plex"
        logo: "assets/icons/plex.png"
        url: "http://192.168.1.10:32400"
      - name: "Jellyfin"
        logo: "assets/icons/jellyfin.png"
        url: "http://192.168.1.11:8096"

  - name: "Monitoring"
    icon: "fas fa-chart-line"
    items:
      - name: "Grafana"
        logo: "assets/icons/grafana.png"
        url: "http://192.168.1.12:3000"
      - name: "Uptime Kuma"
        logo: "assets/icons/uptime-kuma.png"
        url: "http://192.168.1.13:3001"
homer config.yml example
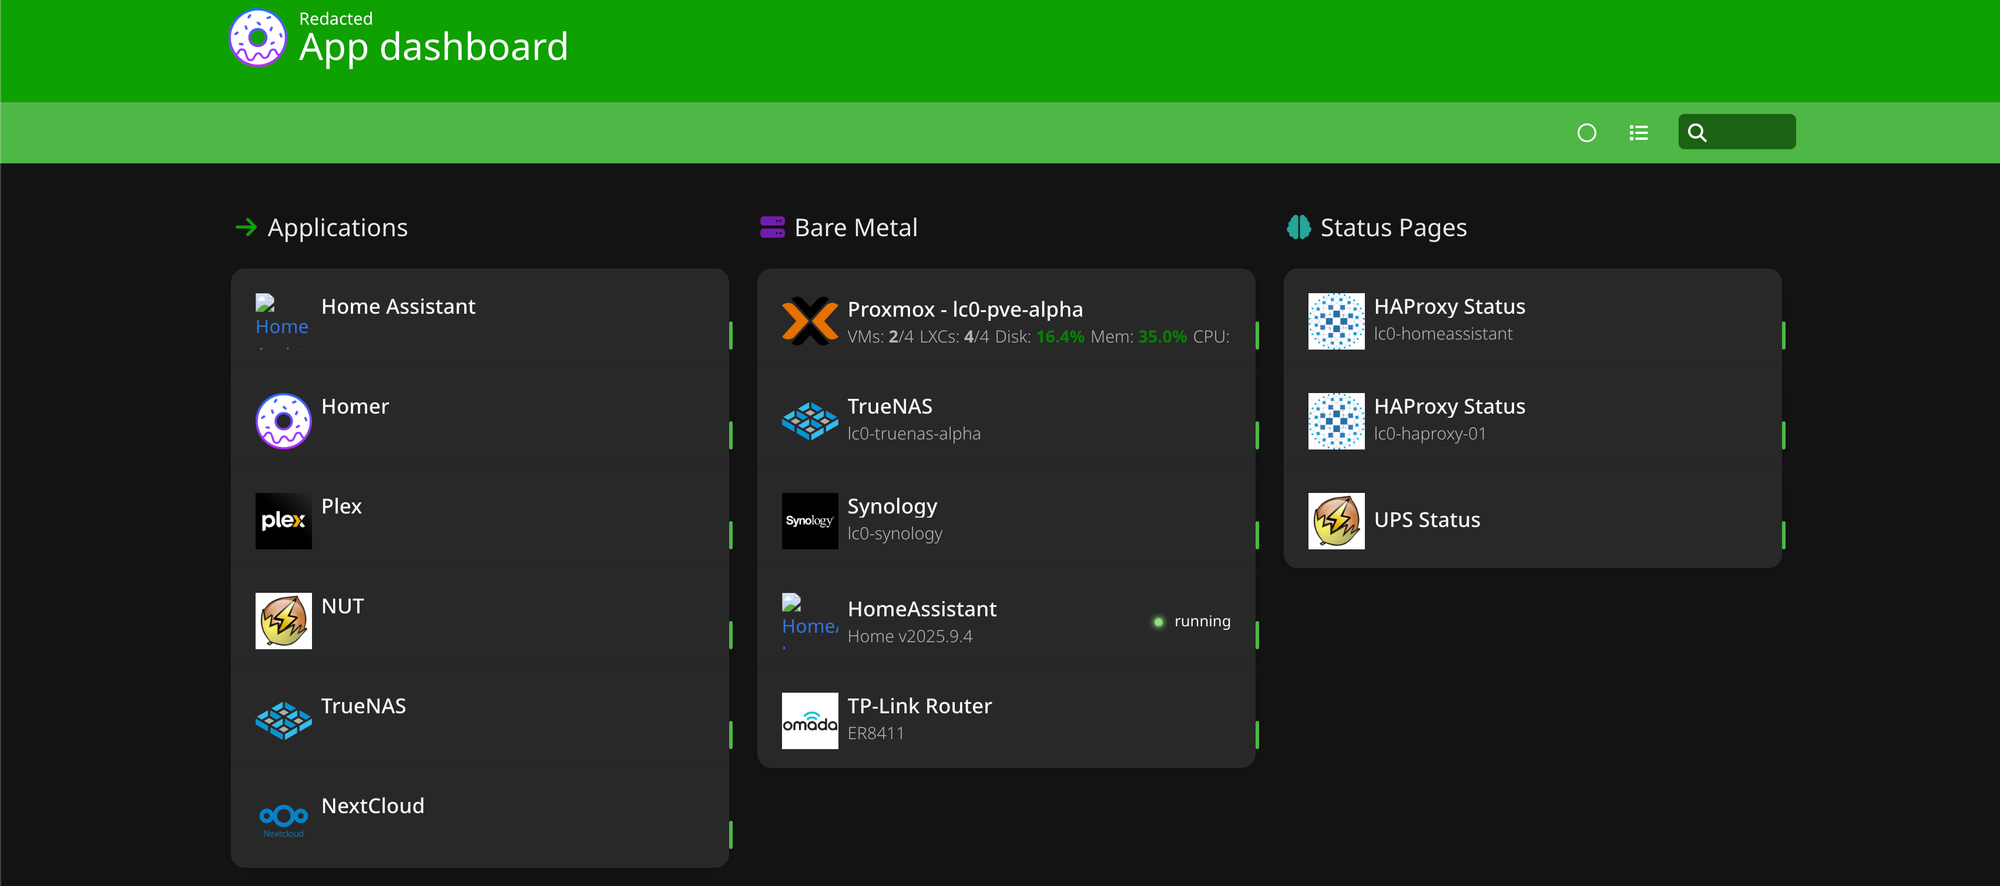
You can even do things such as integrating with specific applications such as Proxmox to get disk usage etc, this is done with smart cards.
See my image below or handily get it to ping resources to check they are online/offline, this can be achieved with the following snippet as an example.
- name: "Plex"
  logo: "https://i.redd.it/5x93lknmuaw81.jpg"
  subtitle: "https://plex.your-domain.com"
  url: "https://plex.your-domain.com/"
  type: Ping
  successCodes: [200, 401]
  method: "get"
  target: "_blank"
For a full list of available Smart cards these are included in the Homer documentation here including a few I have mentioned above:
- https://github.com/bastienwirtz/homer/blob/main/docs/customservices.md
- https://github.com/bastienwirtz/homer/blob/main/docs/customservices.md#proxmox
- https://github.com/bastienwirtz/homer/blob/main/docs/customservices.md#ping
Customising the Dashboard
Some nice touches you can add:
- Icons and logos: Drop PNG/SVGs into the assets folder.
- Themes: Light, dark, and custom themes supported.
- Widgets: Add search bars (Google, DuckDuckGo, internal docs) or markdown notes.
- External links: Quick access to GitHub, documentation, or cloud dashboards.
Tips for Home Lab Use
- Host Homer on a reverse proxy (like HAproxy or Nginx or Traefik) at
http://homer.your-domain. - Use HTTPS with Let’s Encrypt if exposing outside your LAN.
- Combine with authentication (Authelia, OAuth, etc.) for secure access or keep it hidden and internal use only.
- Keep a backup of your config.yml — that’s your whole dashboard.
Conclusion
Homer is a simple, elegant way to bring order to your home lab chaos. With one URL, you get a beautiful dashboard that keeps all your services accessible and organised. It’s lightweight, easy to configure, and endlessly customisable.
If your browser bookmarks are overflowing or you’ve ever forgotten which port a service runs on, Homer is the perfect solution.
References
