Tracking Daily Power Usage and Cost with Shelly and Home Assistant - Part 2
One of the most rewarding parts of home automation is getting insights into how your home uses energy — and how much it’s costing you. If you’ve ever wondered what your washing machine, PC, or server rack really costs to run, you can easily find out using Shelly smart devices and Home Assistant.
In this post, we’ll look at how to set up Shelly devices to monitor power usage, track daily totals with Home Assistant’s Utility Meter, and calculate energy costs automatically.
Tutorial parts breakdown
- Part 1 - (This post) Covering basic shelly setup along with configuring Home assistant utility meters to track periodic consumption daily/weekly etc.
- Part 2 - (This Post) Covering device cost tracking, building upon Part 1 and extending this to track daily, weekly costs
Why Shelly?
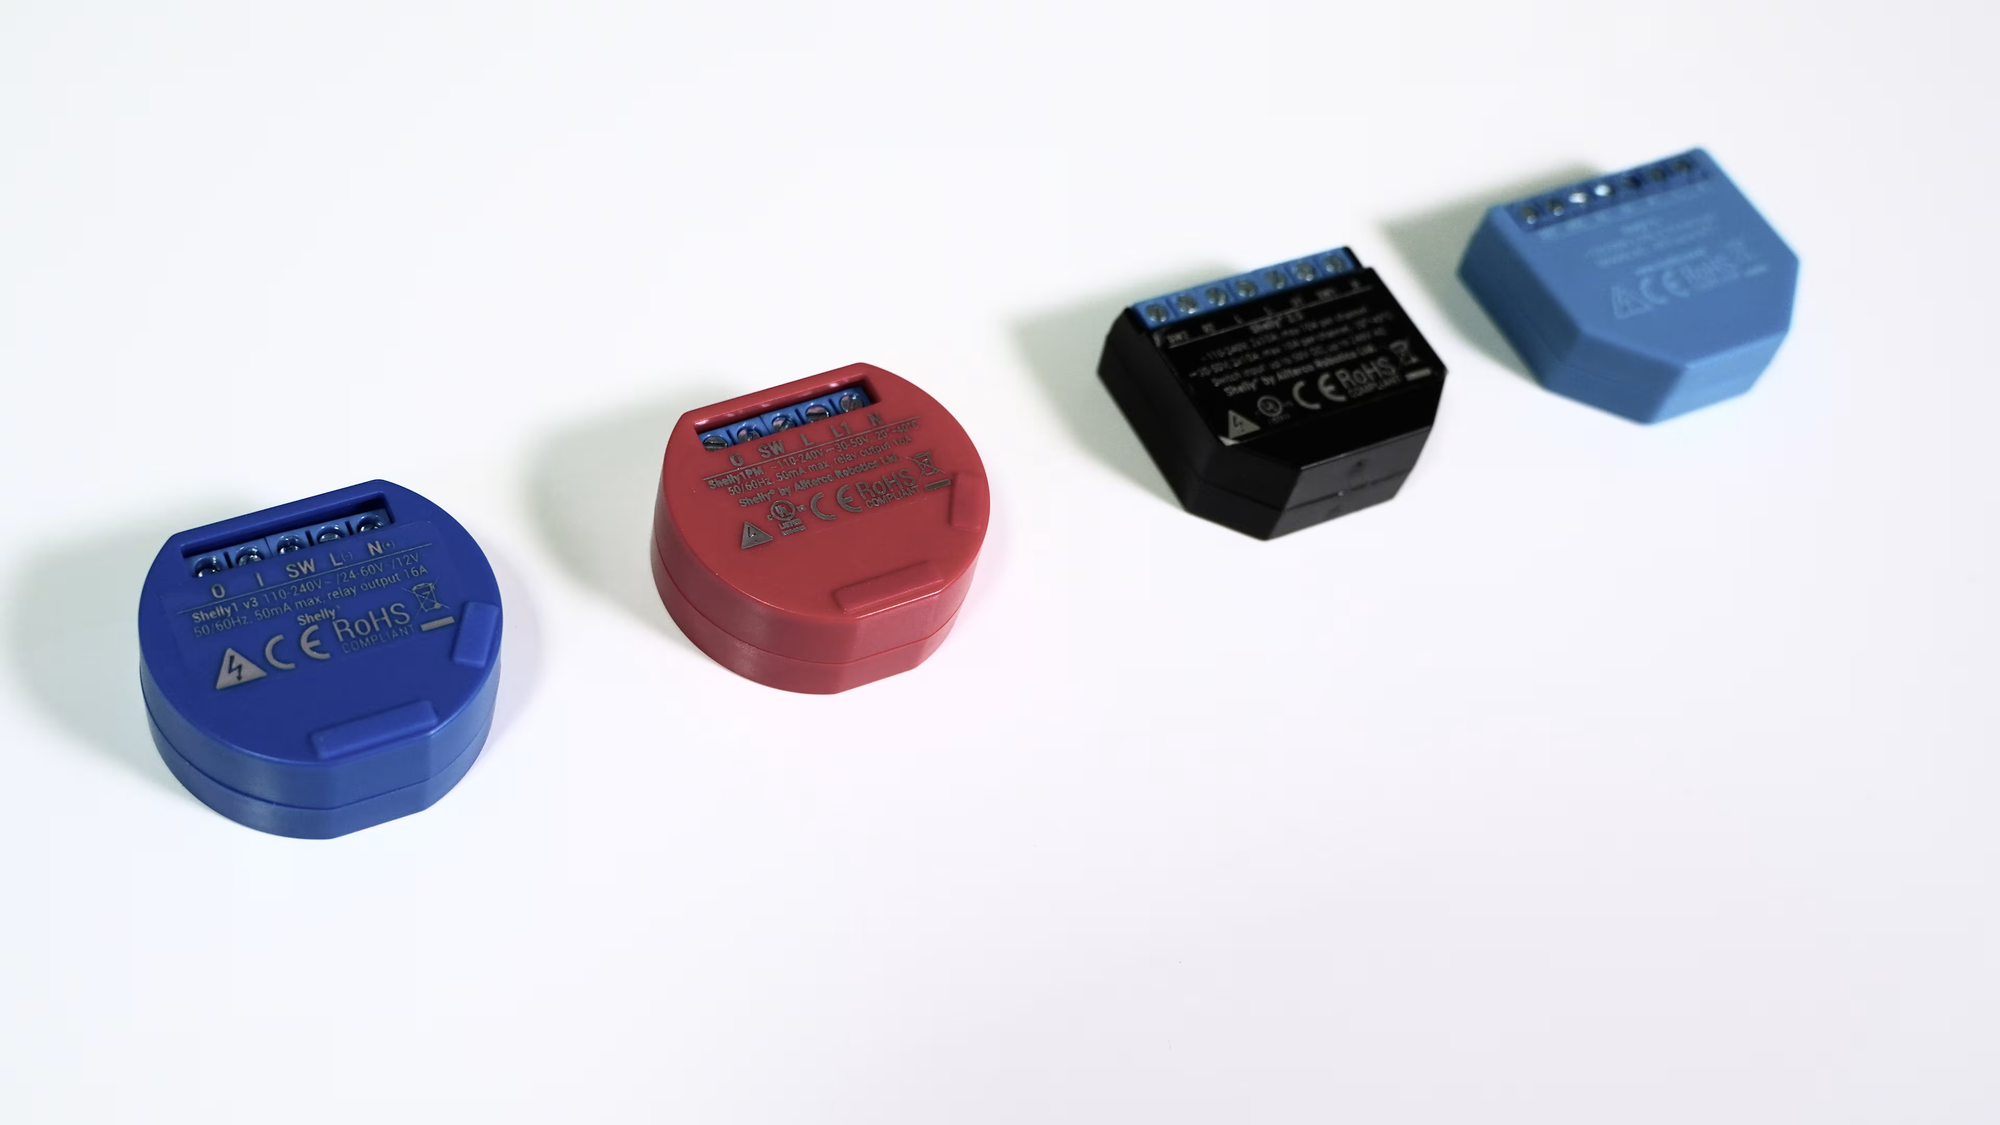
Shelly devices are compact, Wi-Fi–enabled smart switches and relays made by Allterco Robotics. What makes them great for energy tracking is that many models (like the Shelly 2PM, , Shelly 1PM Mini Gen3, Shelly Plug S, or Shelly EM) include built-in power monitoring.
They’re:
- Local-first (no cloud required).
- Affordable and easy to retrofit.
- Highly compatible with Home Assistant.
- Reliable for continuous energy measurement.
If you’re already running Home Assistant, Shelly is one of the most seamless ways to get per-device power metrics.
A Quick Note on Electrical Safety ⚠️
Before diving into wiring any Shelly devices, it’s really important to emphasise electrical safety.
If you’re installing in-line devices like a Shelly 1PM or 2.5 — anything that involves mains voltage wiring — make sure you fully understand what you’re doing.
- Always turn off power at the breaker before working.
- Use proper tools and insulation.
- If you’re not confident with electrical work, it’s best to get help from a qualified electrician.
- Ensure you have reviewed the manufacturer guidelines and specifications, Shelly are very good at this and link all of the documentation alongside their models. Not all relays are suitable for certain load types i.e inductive vs resistive loads!
Smart home projects are great fun and rewarding to learn from, but safety should always come first — no automation is worth a shock or a fire hazard.
Hardware Setup & Adding Shelly to Home Assistant
We covered this in the previous post which went step by step through getting up to this point. Along with setting up the utility meters.
Adding Cost Tracking 💰
To track cost, you can create template sensors that multiply energy usage by your electricity rate. These are in the sensors.yaml file in the home directory of your Home Assistant installation, this may not exist so you might have to create it.
I have the benefit of having my In Home Display (IHD) feed data into Home assistant via MQTT which provides my import rate per kWh of electric, however if you know this value you can setup a helper which stores the current price per kWh which I will use in the example below.
For example, if your electricity costs £0.30 per kWh,
# Platform: template
- platform: template
  sensors:

    # microwave usage cost tracking today
    microwave_switch_electric_cost_today:
      friendly_name: "Microwave Switch Cost Today"
      unique_id: microwave_switch_electric_cost_today
      unit_of_measurement: "GBP"
      icon_template: mdi:currency-gbp
      value_template: >

        {% set todayPower = states('sensor.sensor.microwave_switch_power_today') %}

        {% if todayPower == 'unknown' or todayPower == 'unavailable' %}
          {% set todayPower = 0 | float %}
        {% endif %}


        {{ '%0.2f' % ((todayPower | float) * 0.30 | float) }}

    # microwave usage cost tracking week
    microwave_switch_electric_cost_week:
      friendly_name: "Microwave Switch Cost Week"
      unique_id: microwave_switch_electric_cost_week
      unit_of_measurement: "GBP"
      icon_template: mdi:currency-gbp
      value_template: >

        {% set todayPower = states('sensor.sensor.microwave_switch_power_today') %}

        {% if todayPower == 'unknown' or todayPower == 'unavailable' %}
          {% set todayPower = 0 | float %}
        {% endif %}


        {{ '%0.2f' % ((todayPower | float) * 0.30 | float) }}
Snipper from Home assistant home directory sensors.yaml
When you have saved this file, head to Developer tools -> Check configuration, assuming this gives you the green light of Configuration will not prevent Home Assistant from starting! you can simply click the Template entities button to load/reload them into Home Assistant.
This will give you two new entities:
sensor.microwave_switch_electric_cost_todaysensor.microwave_switch_electric_cost_week
As your utility meters update, these cost sensors will automatically calculate your spending based on current usage.
For more information on Template Sensors you can find the official documentation for them here: https://www.home-assistant.io/integrations/template/#sensor
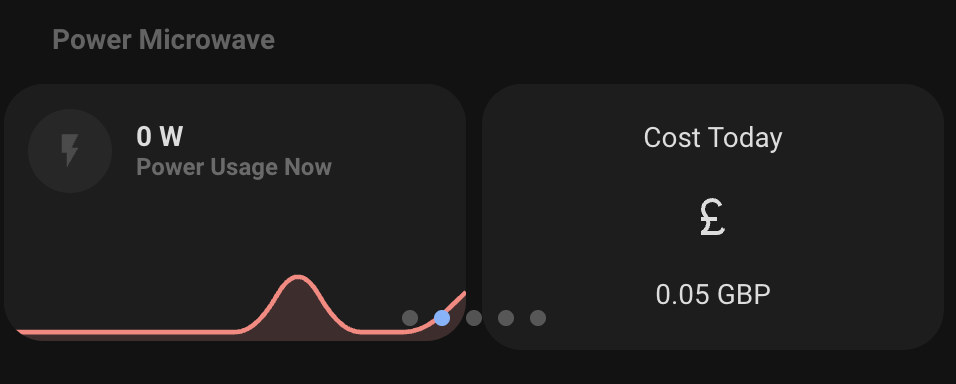
Visualising Energy and Cost
Once your sensors are in place, you can add a card to your Home Assistant dashboard:
type: vertical-stack
cards:
  - type: statistics-graph
    title: Daily Energy Usage
    entities:
      - sensor.microwave_switch_power_today
    chart_type: bar
    days_to_show: 7
    stat_types:
      - sum
  - type: entities
    title: Today's Cost
    entities:
      - entity: sensor.microwave_switch_electric_cost_today
        name: Microwave Cost Today
Home assistant dashboard card showing statistics for energy usage and cost of that entity today
You’ll get a graph showing usage over the last week and a live readout of today’s running cost.
Going Further
- Use Shelly EM or 3EM to track total household energy usage.
- Add automations to alert you if an appliance exceeds a certain daily cost.
- Combine with InfluxDB + Grafana for long-term cost trends and forecasts.
- Adjust your rate dynamically if your energy provider uses time-of-day pricing.
Conclusion
With just a few Shelly devices and some Home Assistant YAML, you can turn your smart plugs into a detailed, cost-aware energy dashboard.
You’ll not only see how much power your devices use, but also how much it costs — giving you real insight into your home’s efficiency and helping you make smarter energy decisions.
Just remember: when dealing with mains wiring, take electrical safety seriously — measure twice, wire once, and if in doubt, call an electrician.
It’s one of those simple automations that pays for itself — literally.